

Harry Potter Design Your Own Wand Game
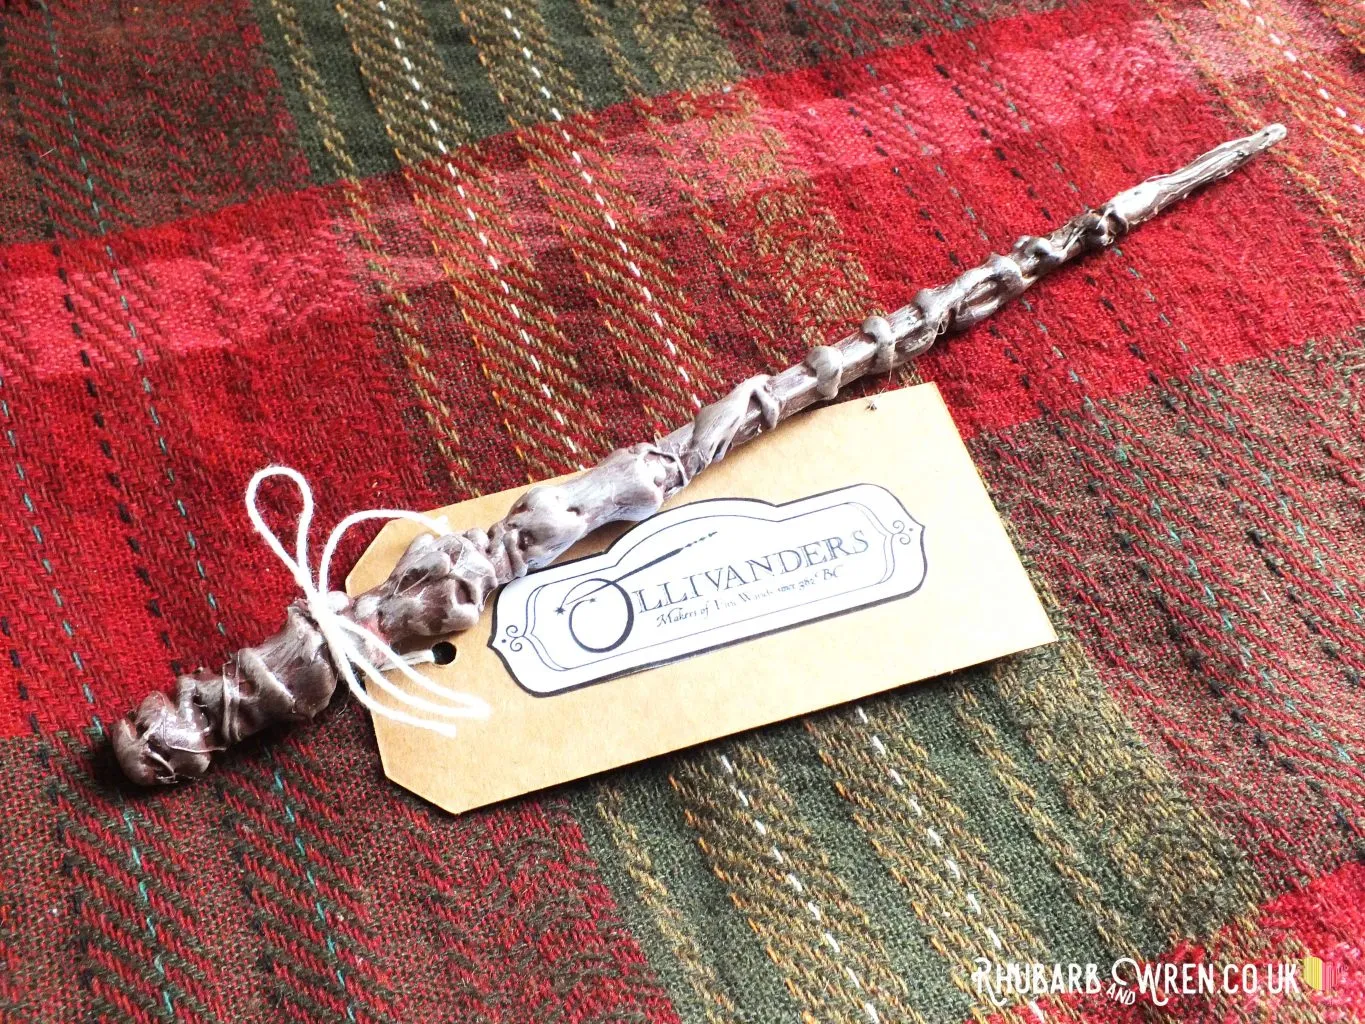
DIY Harry Potter wand
There's one thing that every Potterhead needs to make their life complete, and it's not a door into JK Rowling's head (though a window might be cool). It is, of course, their very own Harry Potter wand. You could buy one, but where's the fun – or indeed the magic – in that? So go outside and find a stick instead, and let's get magic wand making!

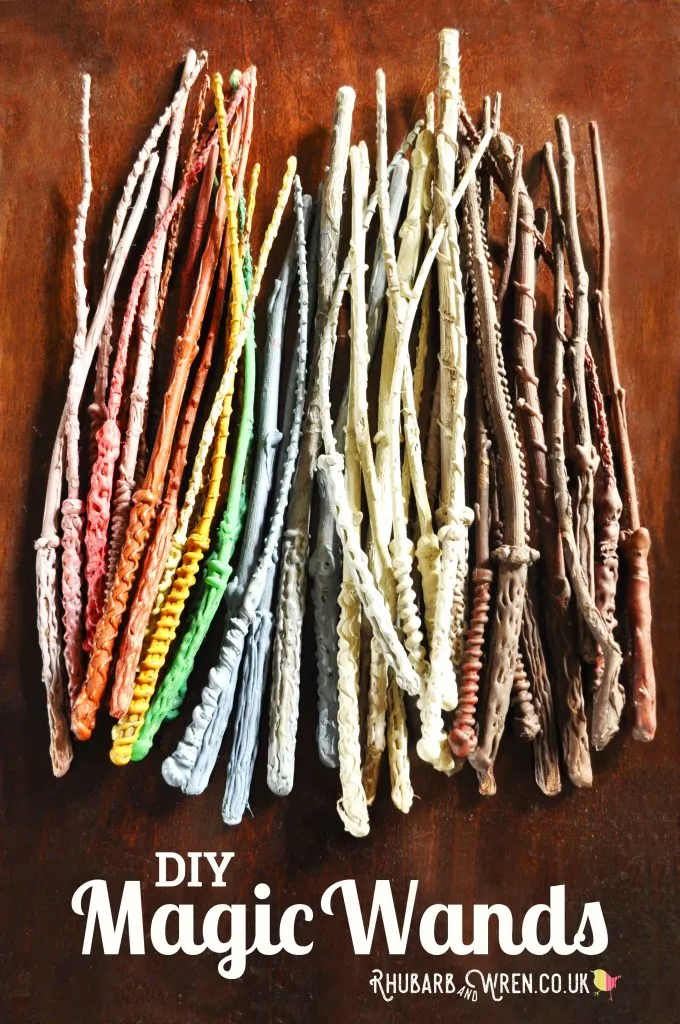
A magic wand of your very own
It is ridiculously easy and lots of fun to make your own DIY magic wand. Don't believe me? Look how many I whipped up for a Harry Potter party. These home-made magic wands were a hit with all the kids and are so much better as a party favour than any generic plastic party bag tat.
I made a similar DIY Harry Potter wand for G-Man and friend on his birthday trip to the Harry Potter Studio Tour near Watford (you can read about that here).
However, while those two wands were made with chopsticks, these beauties were all made with twigs cut from the cobnut tree in our garden.
I am all about making things from sticks lately, but that's OK when the things are this good.
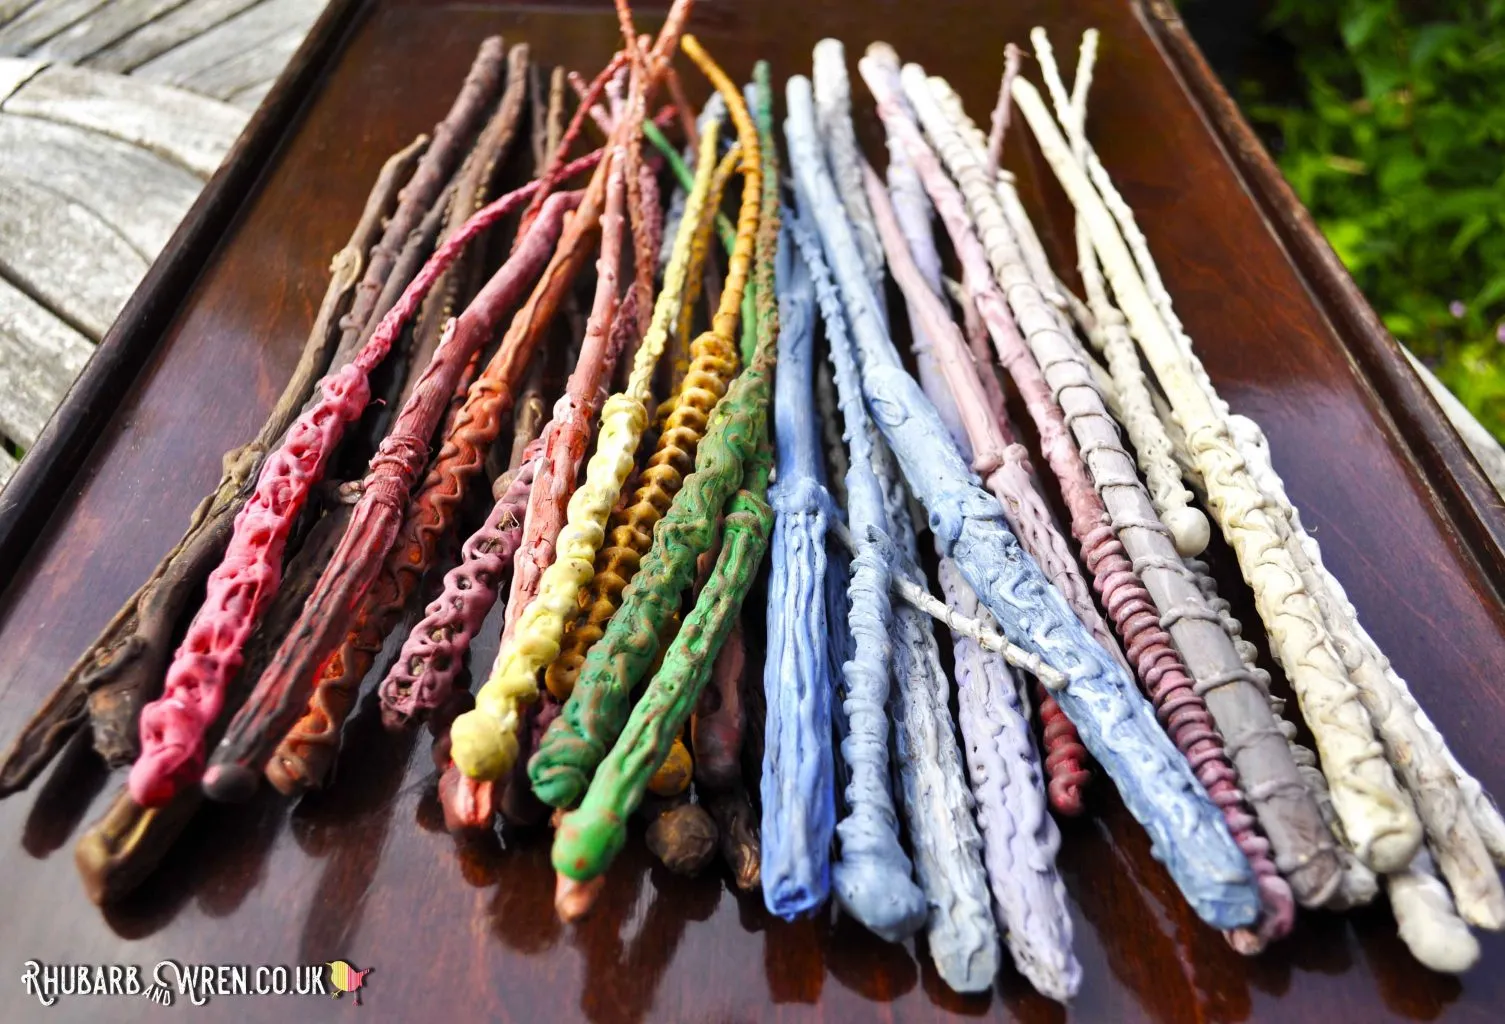
As for the DIY magic wands, I think I love them even more than the chopstick Harry Potter wand, as by using sticks there were no square edges to conceal, and the overall shape and texture is much more organic.
With all the bumps and lumps, each stick wand is as unique as the stick it was made from, so I feel like Ollivander would approve.
Also, they were easy-peasy, and cheaper than chips yet got me many parenting kudos.

Equipment and Materials Needed
You don't need much in order to make a DIY magic wand, and you can easily improvise around the list if you don't have exactly the things that I used. Any links below are Amazon affiliate links.
• Twigs
As you can see, I used twigs of all shapes, sizes and thickness. The really thin ones were an experiment that I wasn't expecting to work, but surprisingly these were the ones the kids loved the most!
You'll probably want your twig to be around 30-35cm long, but magic wands officially come in all shapes and sizes, so anything goes. Some of my twigs weren't even straight, but again they seemed to be the ones that appealed the most.

I have also used chopsticks to make these DIY magic wands, and you could use doweling rods too, but I do think you get a better result from the humble twig.
• A Glue Gun and Glue Sticks
Because you can't have one without the other. Hot glue is what you'll use to make the stick into a DIY magic wand.
You could use other material, such as modelling clay or string/beads dipped in PVA glue, but I think hot glue is the quickest, easiest and most durable way to sculpt your Harry Potter magic wand's features.
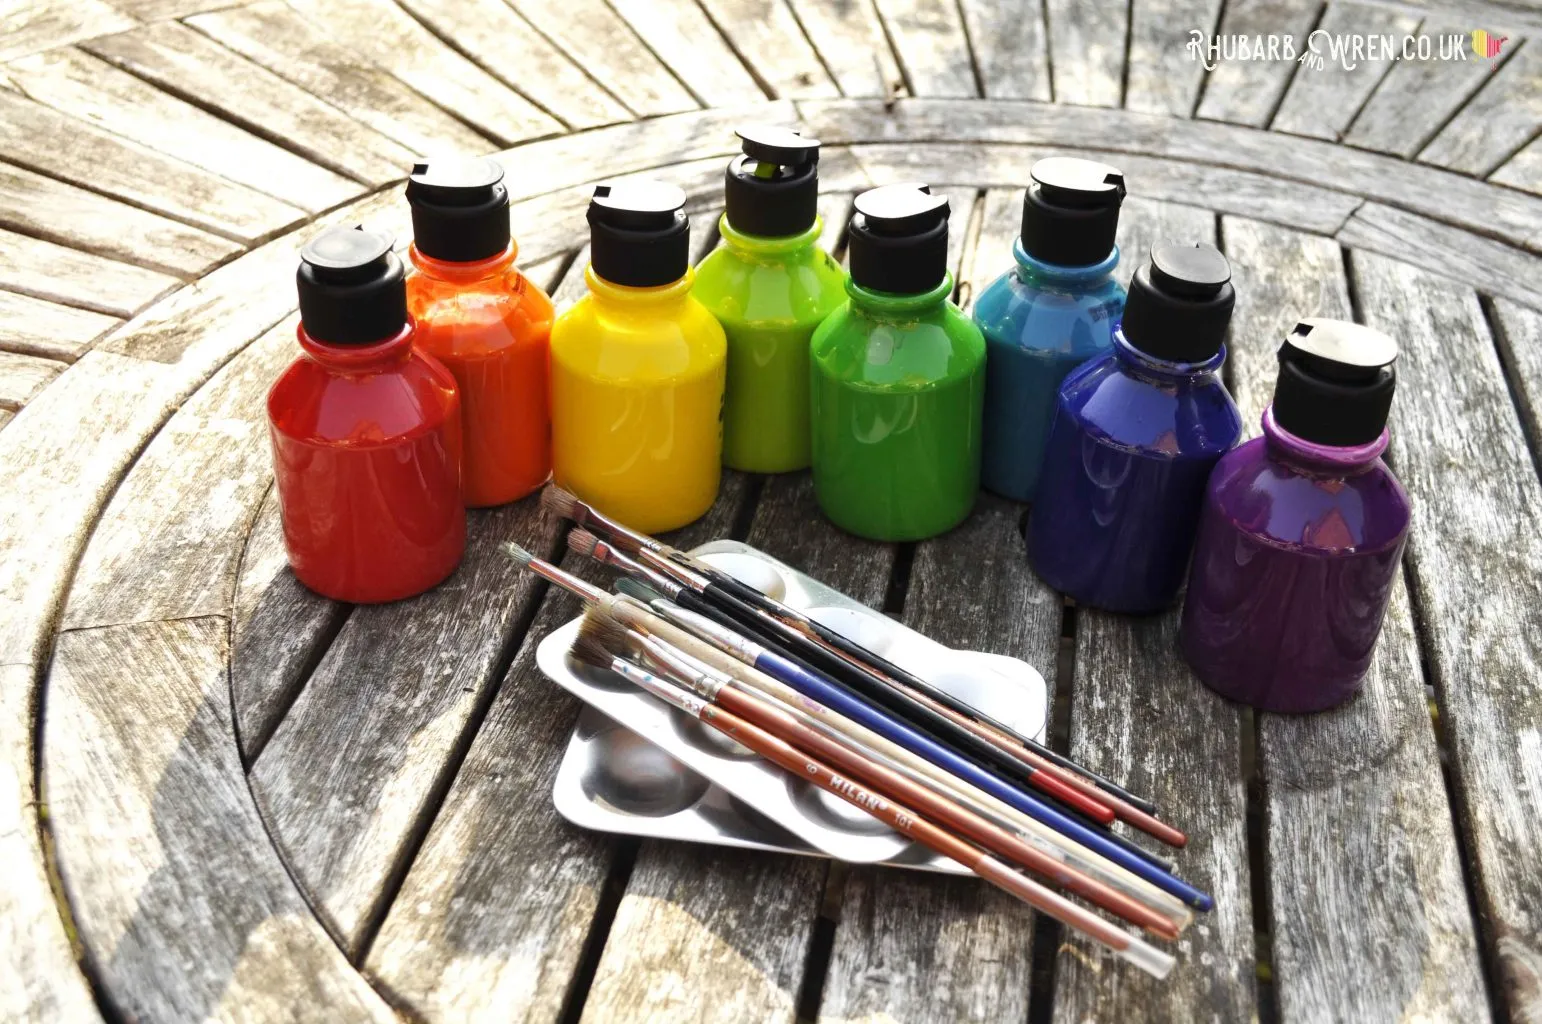
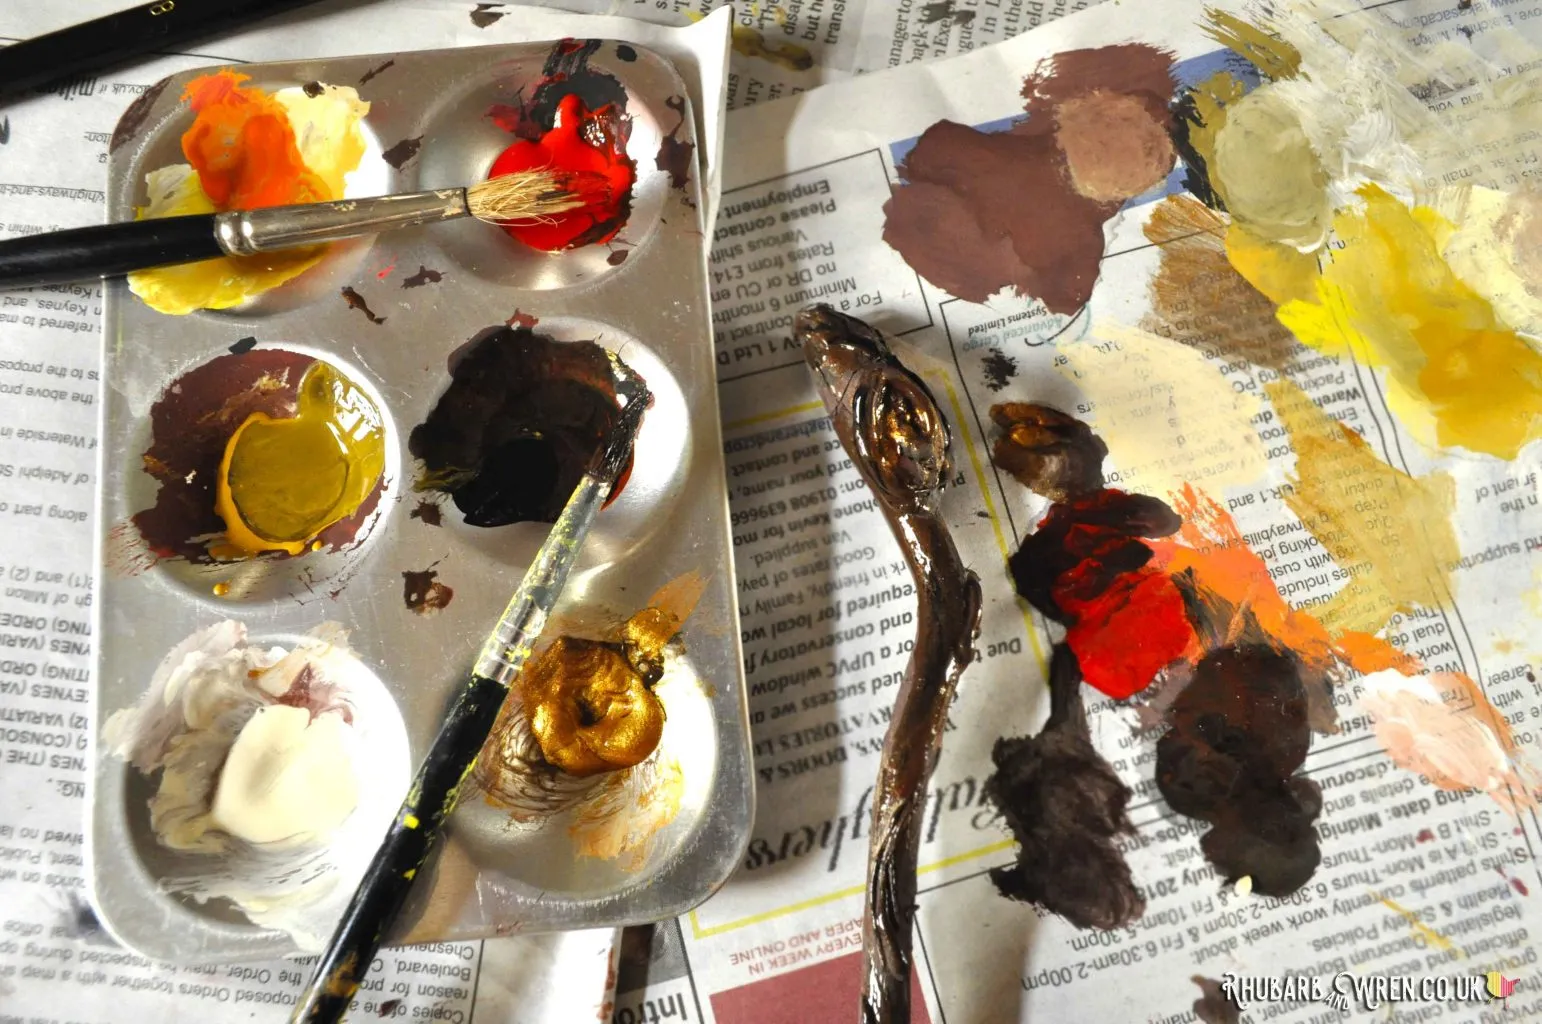
• Paint
I used artist acrylic paint previously, but for these wands just used some of the kids' poster paints. That worked just as well so there's no need to go and get any special type of paint for this project.
• Varnish (optional)
I happened to have some spray (gloss) varnish, so I used this on my home-made magic wands for extra durability.
Without some kind of sealant you'll find that some areas of paint on the glue will wear off, but it's definitely not essential to use.
• Beads (optional)
You can stick on beads for added texture or shapes. Dried pasta works just as well – in fact, since you'll be painting these shapes it really doesn't matter what you use, as long as paint will stick to it.
Or, you can skip this. I used beads the first time around but missed them out this time. I really couldn't see much difference!
DIY magic wand instructions
1. If your stick is already the perfect shape, you can just skip this step! Otherwise, with a small, sharp, knife or a vegetable peeler, taper one end of your stick down to a rounded tip.
This will be the pointy end (excuse the pun) of your DIY magic wand, while the other end will be the handle.
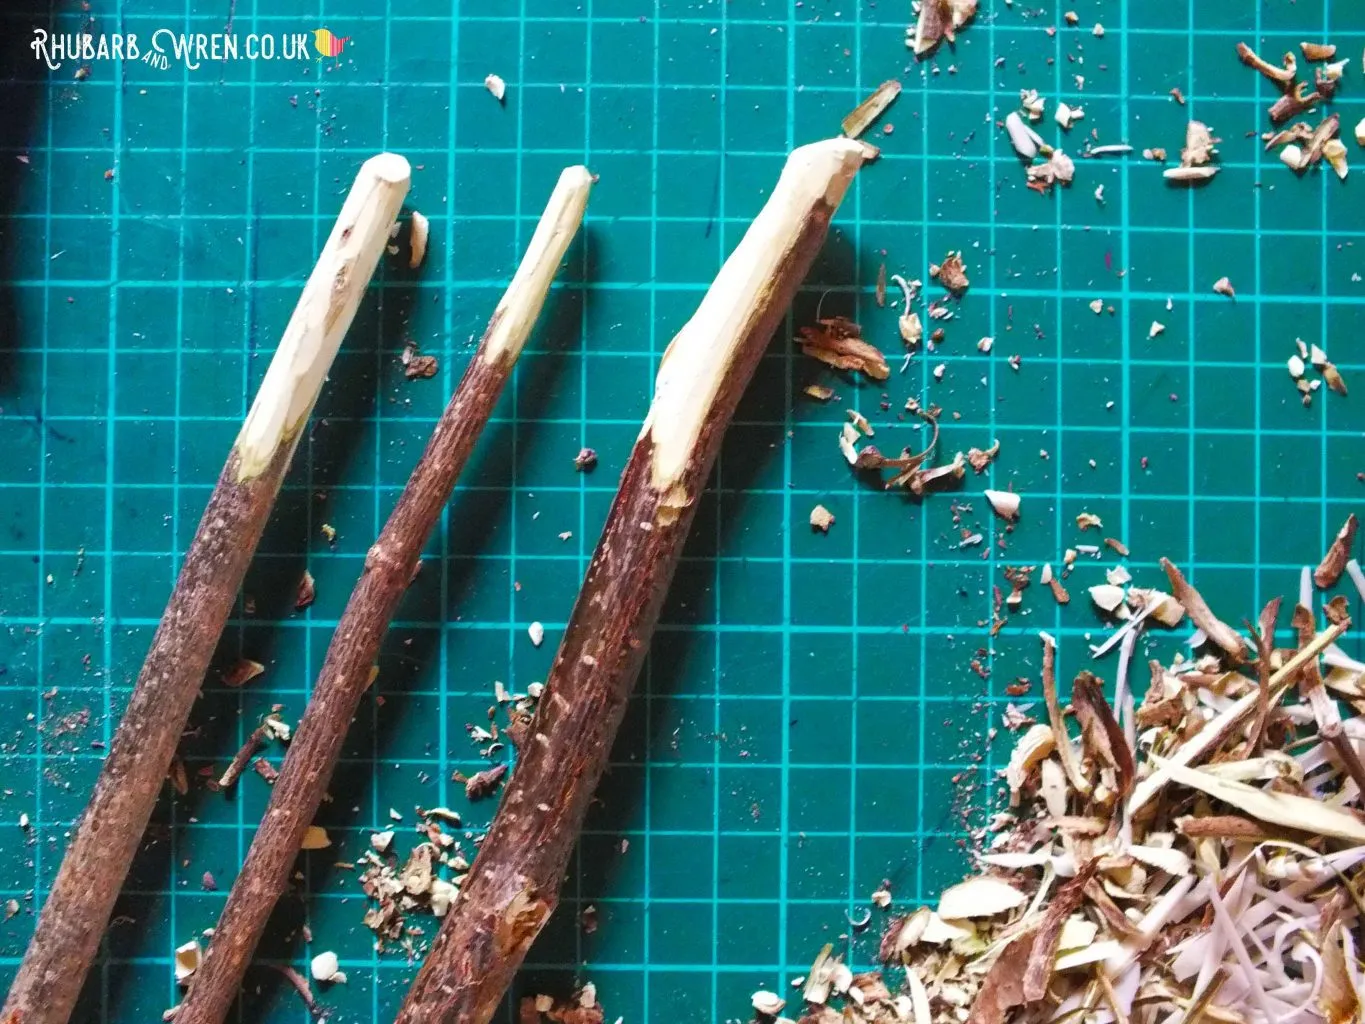
It makes things easier if you use the thickest end for the handle, but you may want to shape it a little too, to round the end again and get rid of any inconvenient sticky out bits that might make your DIY harry potter wand uncomfortable to hold.
2. Using your hot glue gun, dribble glue over your magic wand. Experiment with patterns and shapes or just randomly blob away!

If your stick wand doesn't have a natural handle, you may want to create one with a thick layer of glue all over the appropriate end. As you can see on my magic wands, I experimented with different patterns on the handles too.
3. If you are using beads or any other material to give texture/shape, stick them on at this stage.
Painting your DIY Harry Potter wand
1. Once the glue is hard and cool, apply a base coat of paint. You can either try to match the natural colour of the wood or choose something completely different.
If you do match the wood, you might want to keep most of your paint on the glue so that the natural texture and colour of the bark remains on show.

2. Optional – when your base coat is dry, use a complementary colour (a darker or lighter shade of your original colour works well) and brush/dab on very lightly, concentrating on the raised areas.
Make sure you use a dry brush and remove most of the paint before beginning by wiping your brush onto scrap paper.
You don't need much – just a touch of paint to highlight or add shade – so don't cover up your base coat completely.

3. Optional – once this second coat is dry, use a third and final colour or a metallic accent and repeat the dry brush process.
4. When all the paint is dry, you can finish your DIY magic wand by using some varnish to seal and protect your paint layers. Again, this is completely optional but will help your home-made Harry Potter wand last a little longer.
And that's it! Now open up your copy of The Standard Book of Spells (grade one), and begin making magic. All together now, "Wingardium Leviosa…"

More Potter?
Looking for more Harry Potter ideas? Check out our home-made Harry Potter party bag or take a look at our top tips for visiting the Harry Potter Studio Tour
Pin this for later!
Want to bookmark this post for later? Save it to Pinterest!
Harry Potter Design Your Own Wand Game
Source: https://rhubarbandwren.co.uk/diy-harry-potter-wand-tutorial/
Posted by: pagansatedilly.blogspot.com
0 Response to "Harry Potter Design Your Own Wand Game"
Post a Comment